So this recipe is not a single new recipe, but kinda a combination of two cauliflower recipes I have been holding onto.
I realized I had never made either recipe because each, on its own, seemed a bit too simplistic and bland, but if I combined elements of both recipes together, I thought it could work quite well. The result was certainly worth the experimentation. One recipe was from Healthy Food and the other one from Treehugger.
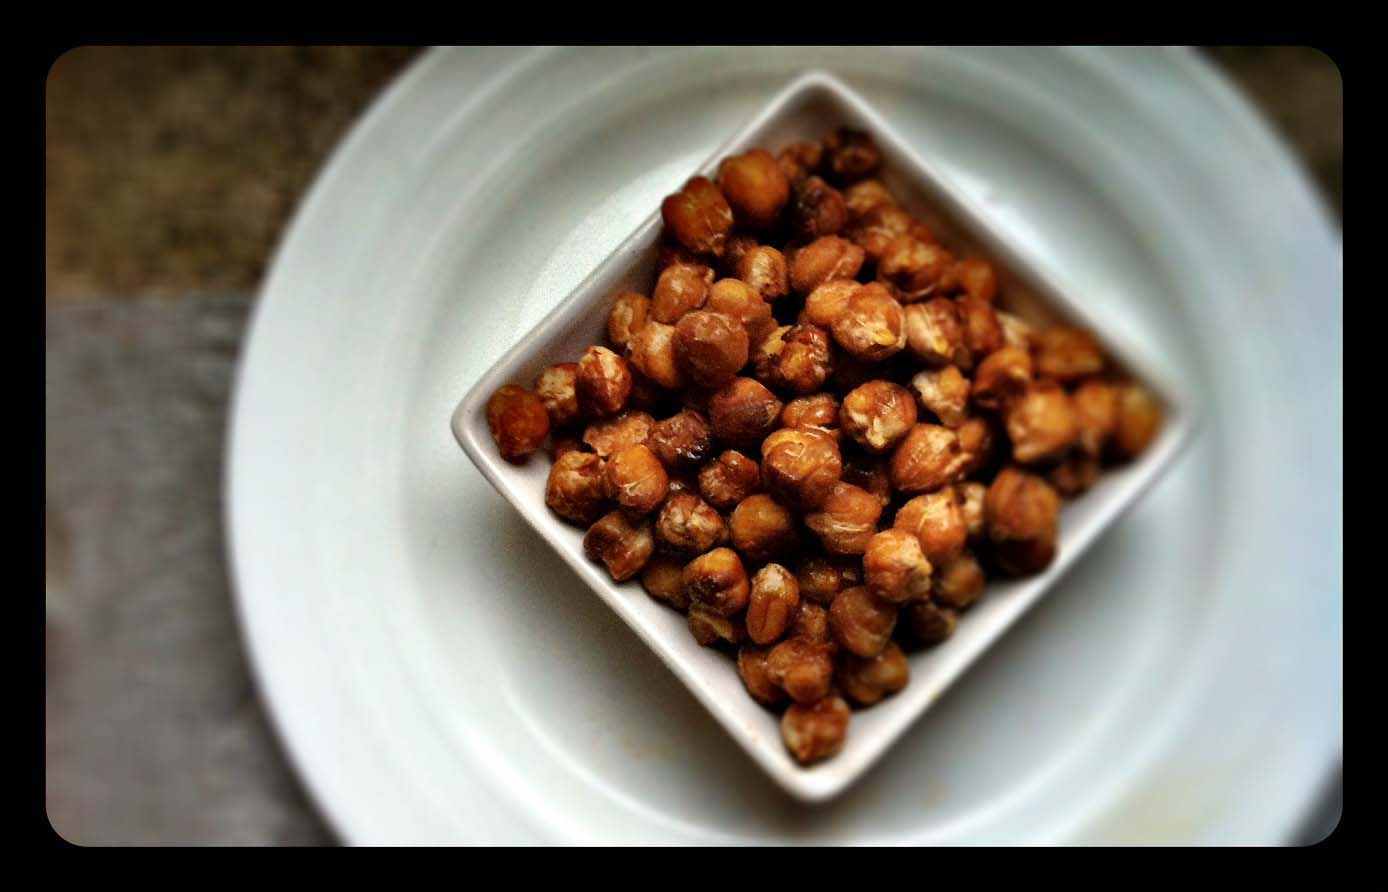
Normally, I would use dry chickpeas for a recipe, and soak them over night. Since I was not necessarily planning on making this recipe, I had to use my “emergency ” can of chickpeas that I keep in the pantry, but that is what it is there for. For most beans I prefer to use the dry version, as it less expensive and usually tastes better (not having been stored in that preservative thick liquid in cans). But sometimes you are making a last minute meal and those emergency cans can be quite handy.
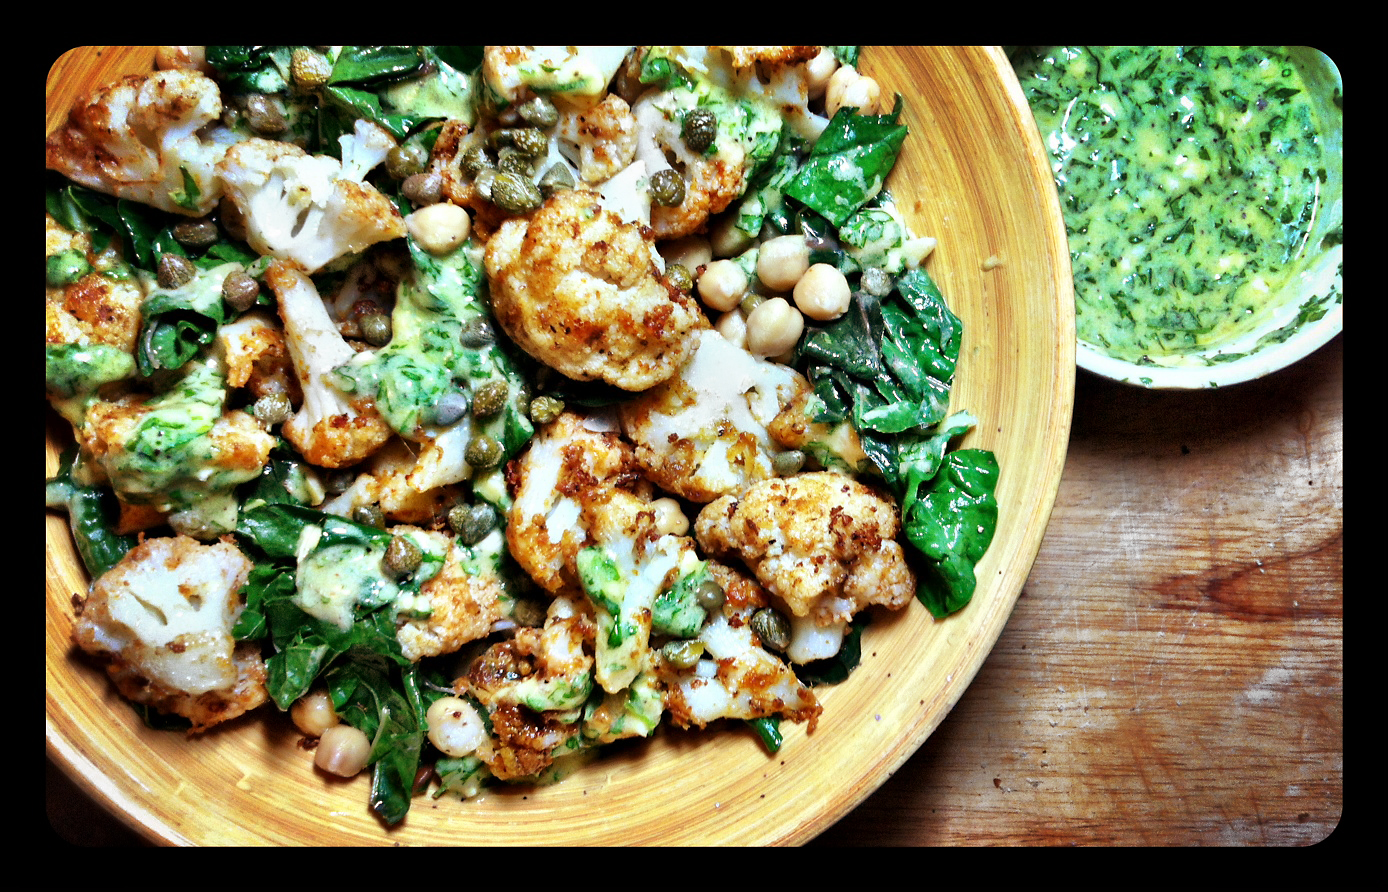
The greens of this salad are Silverbeet, otherwise known as Swiss Chard. This leafy vegetable has been bred to have highly nutritious leaves at the expense of the root, and is subsequently considered to be one of the healthiest vegetables available.
This recipe is another great use for that chickpea flour you may have bought at some point for one recipe, like my Day 42 Panelle post, and are now trying to figure out what to do with the rest.
Crispy Spiced Cauliflower Salad with Herbed Dressing
SERVES:4
INGREDIENTS
- 1 medium cauliflower, about 1 kg
- vegetable oil for frying
- 3 tablespoon gram flour
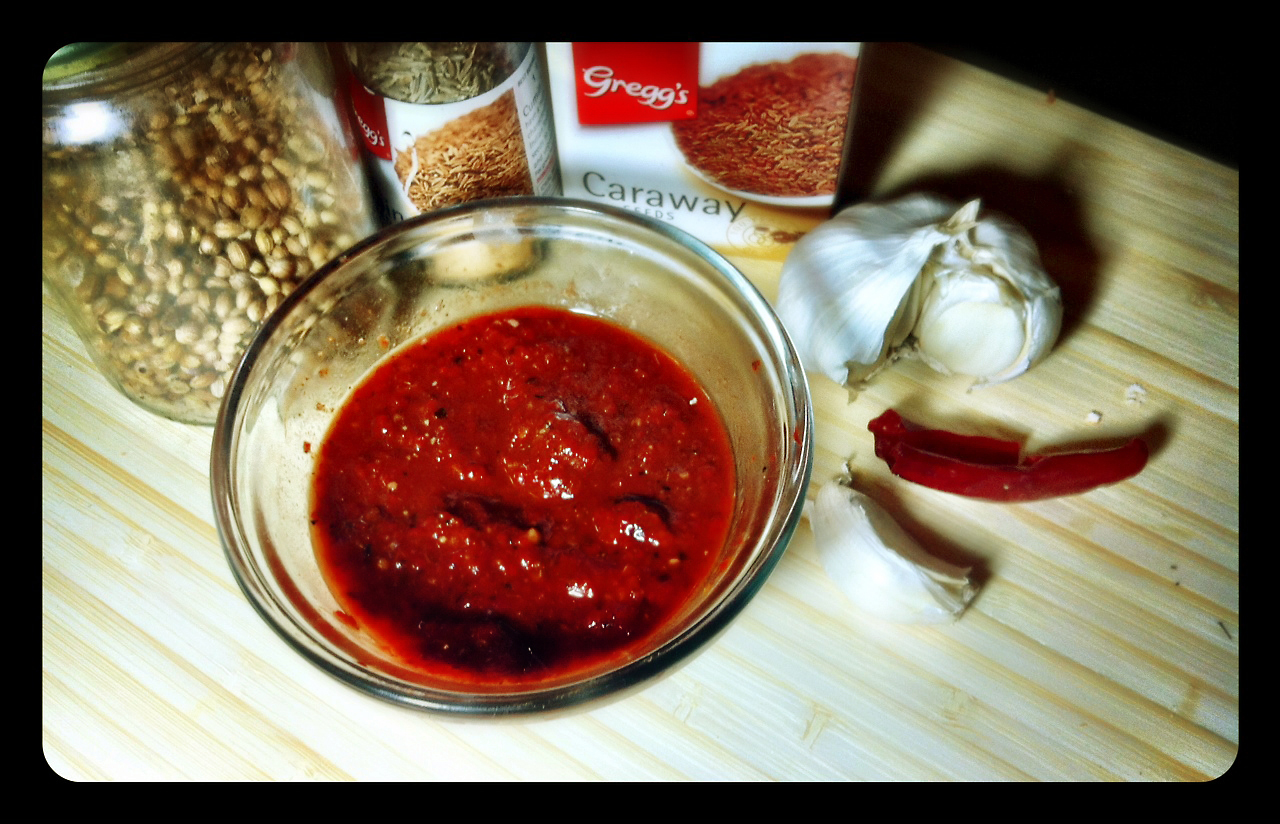
- 1/2 teaspoon smoked paprika
- 1 teaspoon cumin
- 400 grams cooked chickpeas, drained and rinsed
- 4 cups chopped silver beet leaves (Swiss Chard), stalks discarded
- 2 tablespoons olive oil
- salt and pepper, to taste
for the dressing
- Generous handful of parsley
- 6 bushy sprigs of mint
- Handful of basil
- 2 cloves garlic, crushed
- 2 tablespoons Dijon mustard
- 2 tablespoons capers
- 6 tablespoons olive oil
- 2 tablespoons lemon juice
- Salt and pepper to taste
Break the cauliflower into florets. Boil in salted water for a couple of minutes, and then drain thoroughly.
Blanch or microwave silver beet for 1-2 minutes until tender. Then combine cauliflower, chickpeas, silver beet and olive oil in a large bowl, and mix well. Season with salt and pepper.
Make the dressing before you fry the cauliflower, so that the cauliflower will still be warm when serving. Chop all the herbs quite finely, and then stir in the garlic, mustard and capers. Pour in the olive oil slowly, beating with a fork to make sure the oil combines with the other ingredients. Stir in the lemon juice and season with salt and black pepper. Be generous with the seasoning, tasting as you go.
Get the vegetable oil hot in a deep pan (if you do not want to fry the cauliflower I imagine this would taste almost as good baked).
Toss the cauliflower with the gram flour, a little salt and pepper, cumin, and smoked paprika. When the cauliflower is coated, fry in the hot oil till crisp, a matter of three or four minutes or so. Drain with a paper towel before adding the cauliflower on top of the silverbeet.
Drizzle with the dressing, and serve warm with additional dressing on the side.
ENJOY!!