Cranberry sauce is always one of my favorite parts of the Thanksgiving meal.
I think as a young future vegetarian, who did not like turkey very much, Cranberry sauce was one of the things I looked forward to the most. Typically it was just the jellied wobbly canned stuff that comes out with the ridges imprinted in the sides, but cranberry sauce was one of the special foods that may family only ate at Thanksgiving, which made it seem that much more fantastic. Now I am older, and prefer to make food from scratch and use as little processed and preserved ingredients as possible, so when I found this recipe from Jerry James Stone, the idea of making my own Cranberry sauce caught my attention. Especially if you are adding a little booze.
Although, I have a feeling “Boozy” might be a bit of a misnomer here, as I suspect most the alcohol will bake off, but it will still leave behind that lovely residue of sugar and will have helped macerate the cranberries. Maceration is a process in food preparation that uses liquids (often alcohol ) to soften or break up tough ingredients like raw, dried, preserved, or fresh fruit and vegetables and help them release their own juices adding to the flavor and making the ingredient easier to chew and digest.
I am making this cranberry sauce as a test for this year’s Thanksgiving. I am heading home to The States to be at my family Thanksgiving for the first time time since I moved to New Zealand 7 years ago. Looking forward to seeing my family and helping to cook up vegetarian treats to add to the Thanksgiving table.
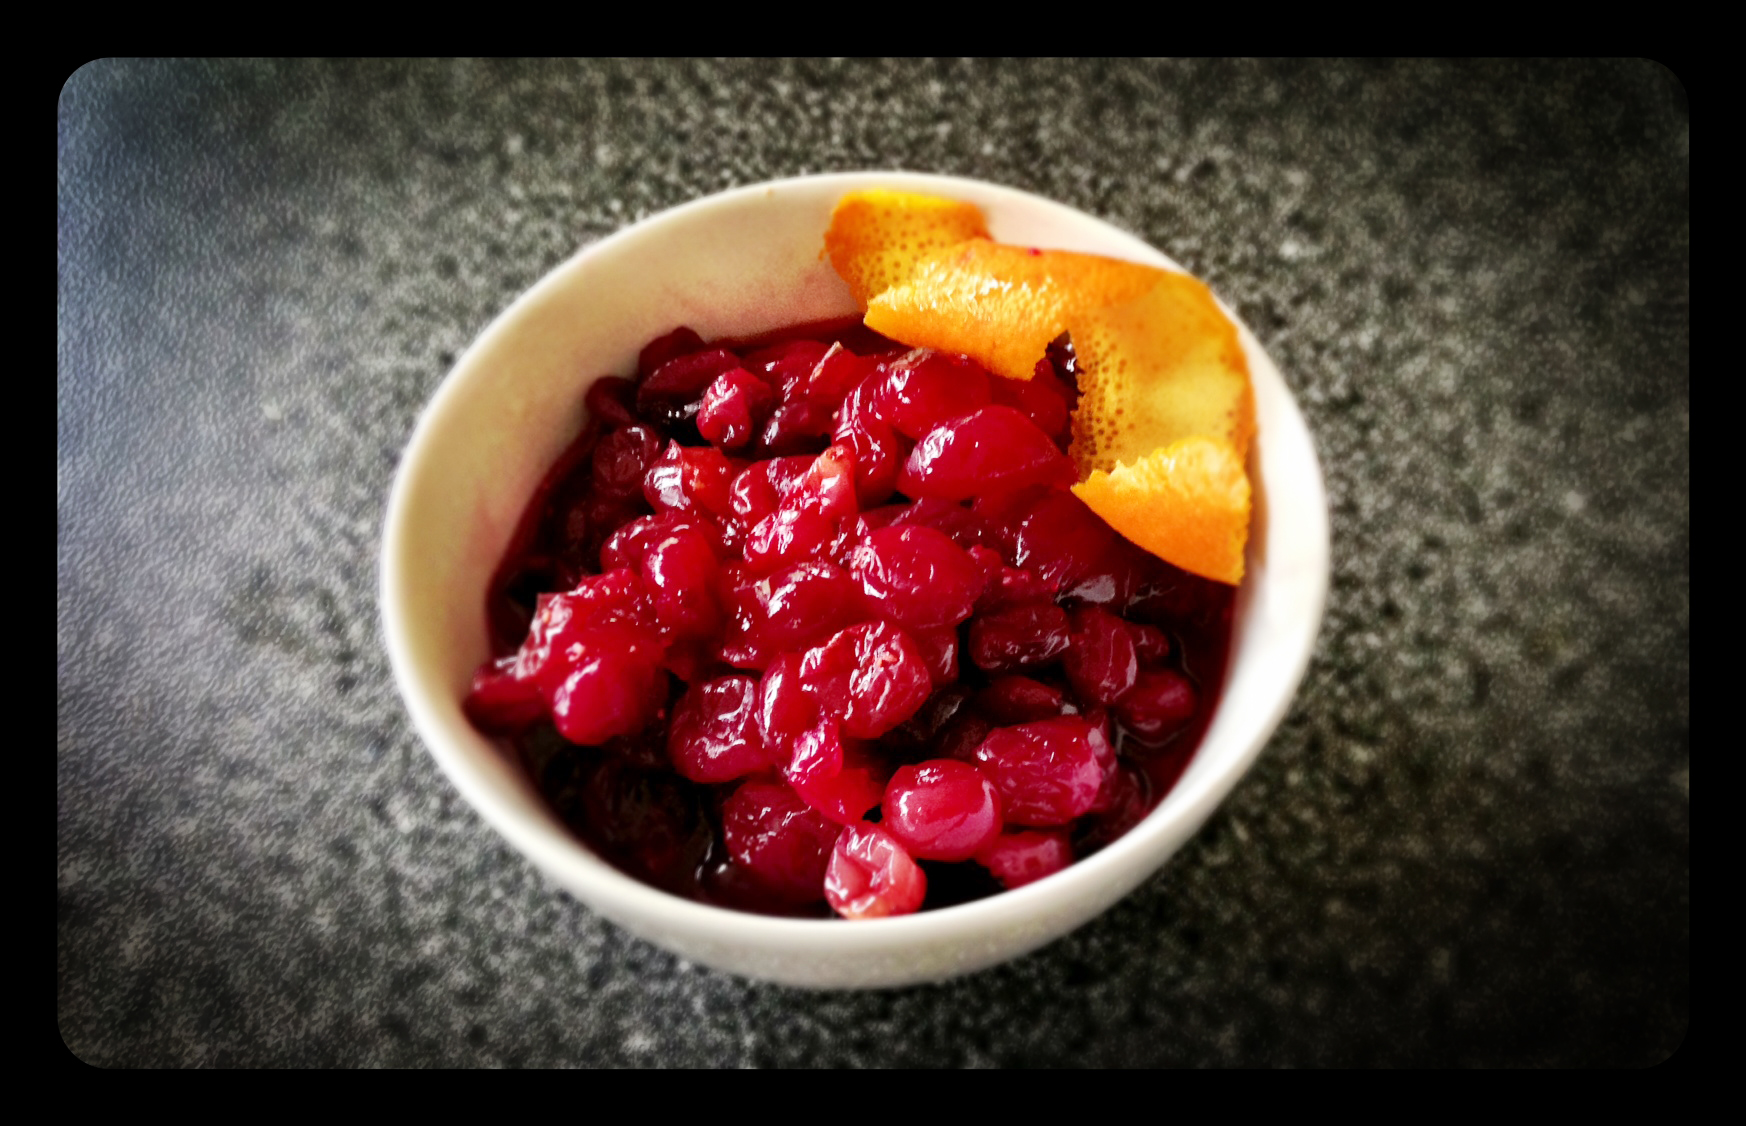
Boozy Baked Cranberry Sauce
adapted from: Jerry James Stone
INGREDIENTS
- 340 grams or 12 ounces fresh or frozen cranberries
- ½ cup liquid honey
- 2 Large Oranges
- 1 Shot Triple Sec, Gran Marnier, Cointreau or other orange flavored liqueur (a vanilla liqueur could possible work quite nicely as well).
Half the oranges. Then in a large mixing bowl add the honey and juice the orange halves. If you are using solid honey, pop it in the microwave for 30 seconds to a minute to help liquify the honey.
Add the liqueur and whisk together the juice and honey mixture so that the honey is mostly dissolved into the juice.
Add in the cranberries and gently mix so they are lightly coated. Then place the cranberries in a baking dish or on a shallow cookie sheet and bake for 40 min on 180 C or 350 F. They are ready when the cranberries have wilted, cracked, and broken open.
You can chill them and serve them later but they are best hot and gooey. Also if you prefer a saucier texture you can roughly pulse the baked cranberries in a blender with some of the left over juice.
ENJOY!!