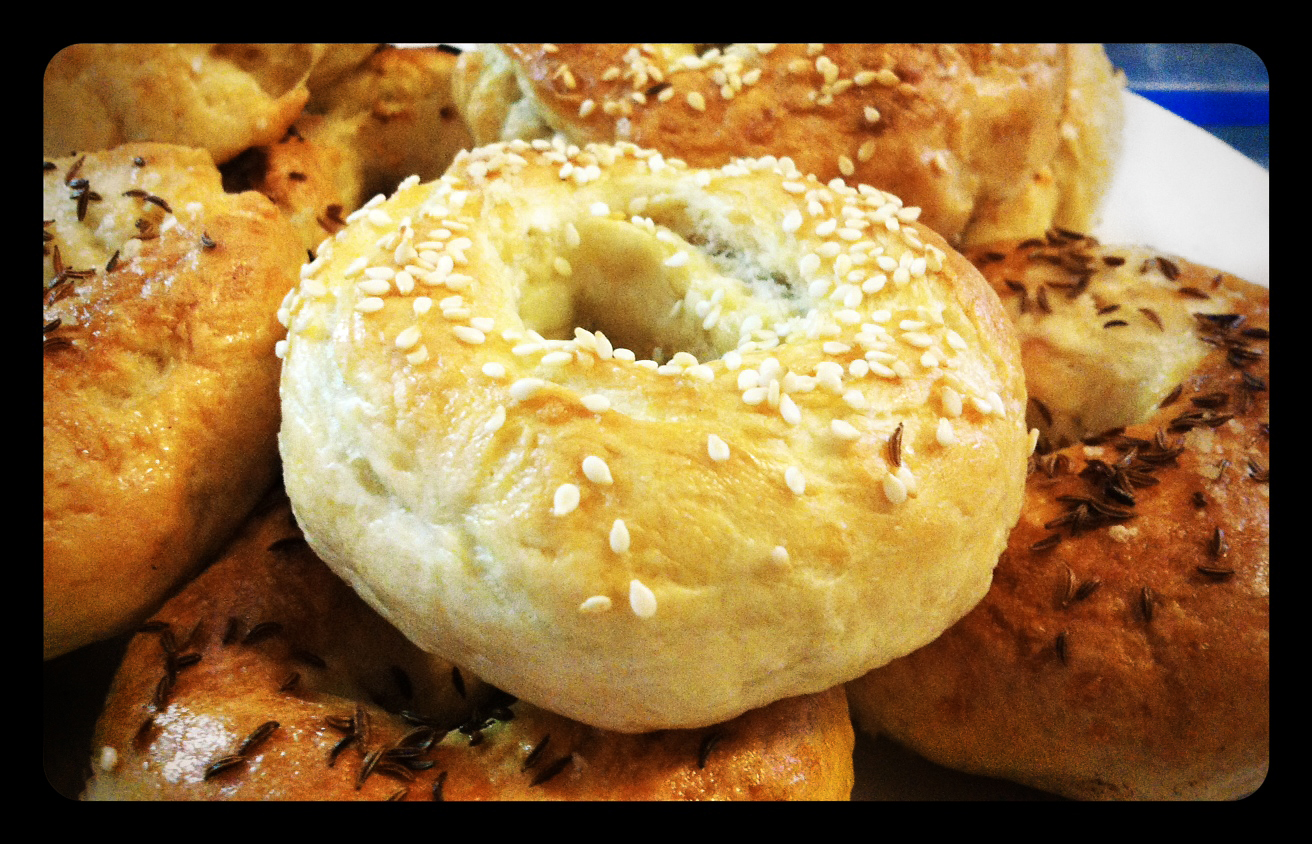
Today is Bagel Day at my flat!!
Honestly, it’s very difficult to find a proper bagel in New Zealand . . . I am sorry Kiwis, but a bread roll with a hole in the center just does not count!! A few years ago, I was rescued from this bagel wasteland by my friend Stephen, who had a bagel recipe from his sister, who lives in New York, and she originally got the recipe from a Rabbi’s wife. Now that has to be a good bagel recipe!!
Ever since then, Bagel Day was born . . . which just means that a few times a year I spend a Sunday morning making bagels and inviting people around for an afternoon of bagel indulgence. I have been told it is a life changing experience for most of my Kiwi friends.
Bagels were invented by the Jewish population of Kraków, Poland in the early 1600’s. It is believed that bagels were the Jewish version of the obwarzanek, a lean bread of wheat flour designed for Lent. Since then, the bagel became a staple of the Polish diet, as well as the diets of people in neighboring countries. The name may have originated from an old spelling of the Polish word for bow, because traditional handmade bagels are not circles but slightly stirrup-shaped instead. In the Brick Lane district and surrounding areas of London, England, bagels have been sold since the middle of the 19th century, and bagels were brought to the United States by immigrant Polish-Jews. Father and son, Harry and Murray Lender, helped to popularize the bagel throughout North America in the 1960s by pioneering automated production and the distribution of frozen pre-sliced bagels.
The thing most people miss when making bagels, is that bagels should be briefly boiled before they are baked. This gives the dough a thin skin, that when baked, becomes a crunchy outer shell for the soft bagel center. It does take a good chunk of time to go through all the steps of making your own bagels, but it makes a great social activity to do with kids or friends, and you wind up with a warm yummy treat.
The main problem with Bagel Day is I always end up eating way too many fresh out of the oven bagels and spend the rest of the Sunday in a bagel coma on the couch. Just remember . . . you have been warned!!
This recipe can easily be made Vegan by using an egg replacer.
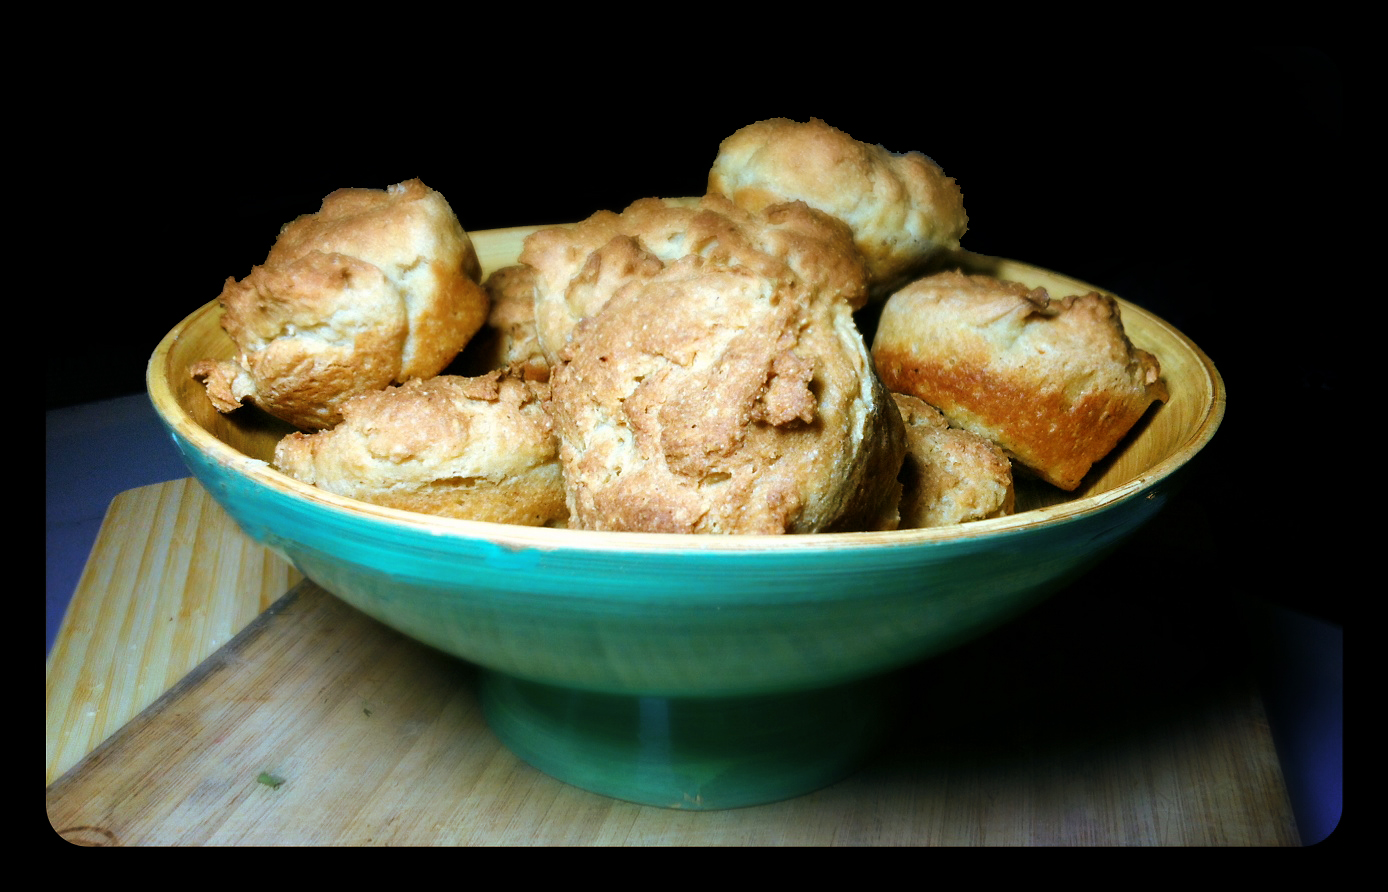
New York Style Bagels
MAKES: between 20 – 40 bagels, depending on how big you make your bagel shapes (the recipe can be easily halved)
INGREDIENTS
- 12 cups flour
- 2 eggs
- 2 tablespoons oil
- 4 cups luke-warm water
- 1 packet or 6 teaspoons dried yeast
- 4 teaspoons salt
- 1/4 cup sugar
Combine sugar, salt, oil, half of the flour, all liquid, yeast and eggs in a large bowl and mix with wooden spoon until smooth. Cover with tea towel and leave in a warm place for 30-45 mins until risen and bubbly. If you do not have a hot water cupboard or similar suitable warm place, then briefly turn on your oven to its maximum temperature and then turn off again. This will create a perfectly warm environment for your dough to rise in.
Beat in remaining flour and knead until smooth and elastic. Put dough into floured bowl, sprinkle a little flour on top, cover with towel and return to the warm place for 1 to 1.5 hours. If using your oven, you may want to turn it on briefly again, but remember to turn it off again. The dough should double in bulk.
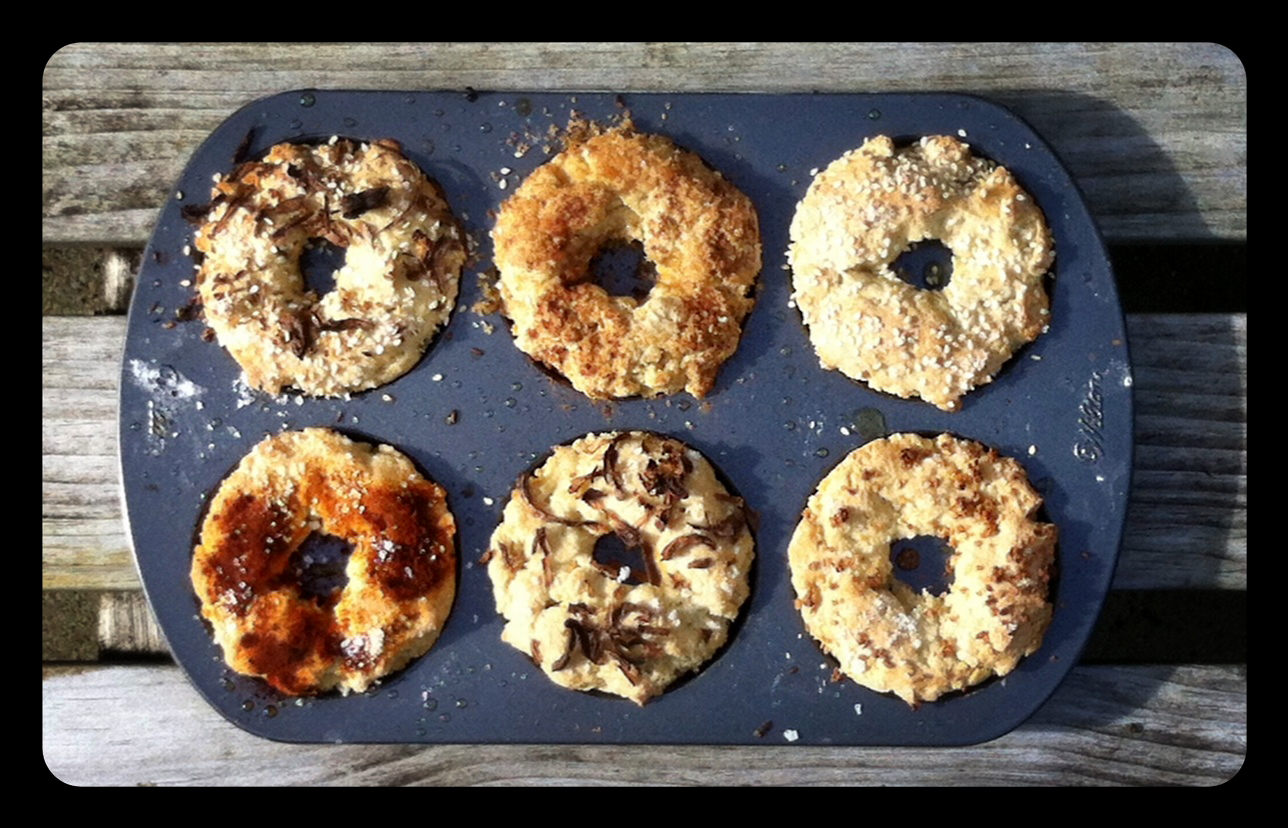
Punch dough down and form your bagel shapes. The easiest way to do this is to take a round ball of dough, slightly larger then a golf ball, and pinch it in the center with your thumb and second finger. Insert the first finger of both hands into the hole created by the pinch, and twirl fingers in a circular motion smoothly expending the hole. Make the hole a little larger than you will need, as it will start to close up when the dough rises. Try to make the surface of your bagel shapes as smooth as possible.
Place bagel shapes on a floured bench space, cover, and leave for 15 minutes to rest and rise slightly.
Now, heat your oven to 220 C or 425 F.
Drop bagels into a pot of slowly boiling salted water one at a time. Leave for about 30 seconds on each side (the longer you boil the bagels the thicker the skin will be). Remove bagel shapes from the pot and place onto oiled baking trays.
Sprinkle on your choice of toppings: garlic, onion, sea salt, rosemary, sesame seeds, poppy seeds, cinnamon and sugar, pepper, caraway seeds are just some suggestions. This is where you can be creative and experiment with topping combinations and flavors.
Bake for about 20 minutes or until brown.
Cool them on a rack or threaded on a wooden spoon handle to prevent sogginess.
Eat them as soon as they are cool enough to hold in your hand. My preference is slathered with a “shmear” of Philadelphia brand cream cheese, but you can get just as creative with your condiments and bagel sandwich making as you can with the toppings themselves.
Make sure to eat them while fresh, within 12 hours, the crust will have gone soft, and the texture from cakey to rubbery.
ENJOY!!